Installing FPOS
Microsoft Windows 8/Server 2012
After installing or updating Future Fusion SQL 2008, install the FPOS software. Future Fusion versions 5.0.94.0 and higher automatically configure many settings required for the FPOS software to run on the Windows 8 operating system. Users can also configure these settings manually, if desired. See Configuring Windows 8 for more information. If you experience issues when installing FPOS on WIndows 8 OS, see Troubleshooting Windows 8 Installation for more information.
 How to Install Future Fusion
- Navigate to the Dealer Portal and click the Software tab > FPOS folder > Fusion50 folder.
- Download and run the Fusion-5.x.x.x-x64.zip(64 bit OS) or Fusion-5.x.x.x-x86.zip (32 bit OS).
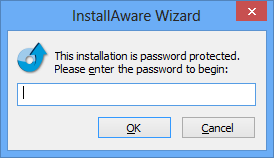
- When the InstallAware Wizard prompt appears, enter the installation password and click OK. The InstallAware Wizard will verify the contents of the setup package.
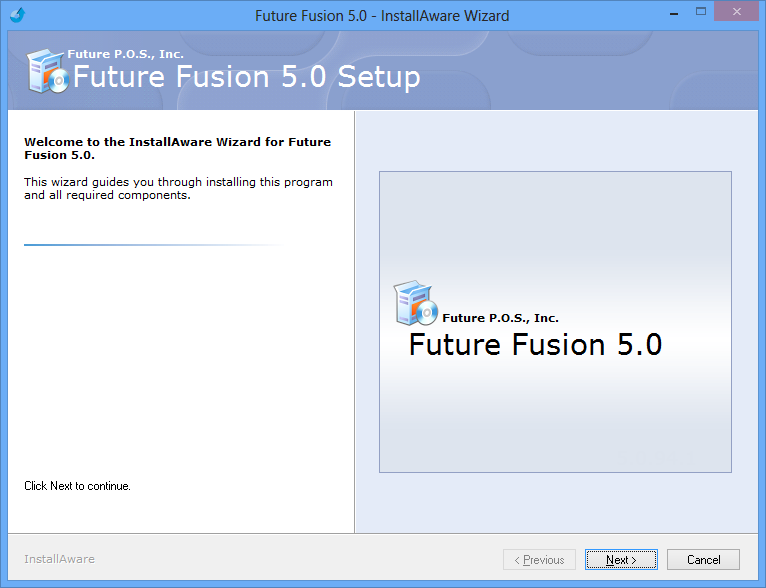
- When the Welcome screen appears, click the Next button.
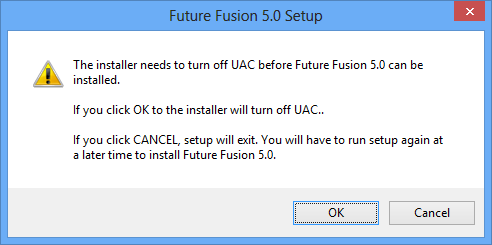
- If User Account Control has not been disabled, the disable UAC dialog will prompt the user to turn off UAC. Click the OK button to disable UAC. Users can also disable UAC manually prior to installation. See Disabling UAC for more information.
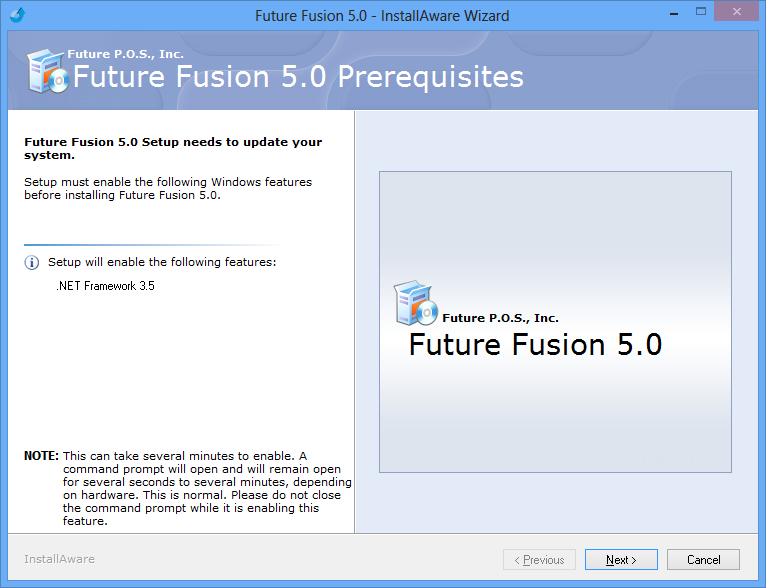
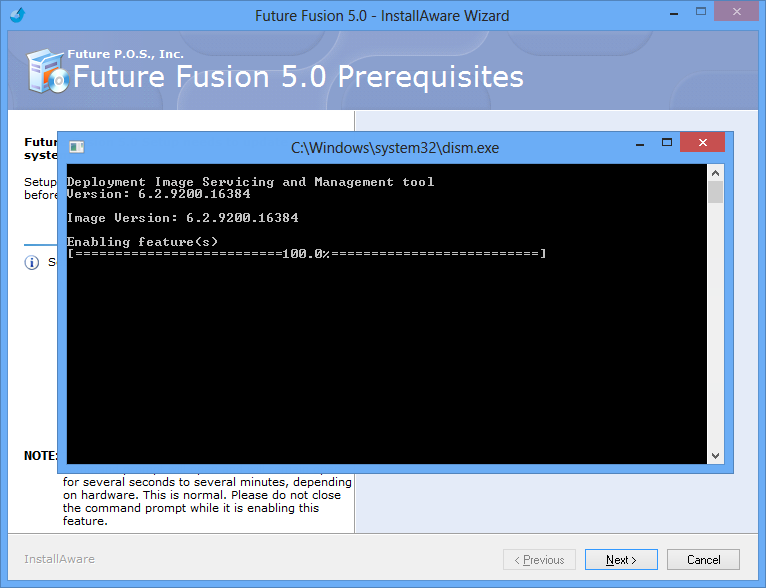
- When the Future Fusion Prerequisites window appears, click the Next button to begin the installation process. During this step of the process, Future Fusion will enable .NET Framework 3.5. You can also perform this step manually prior to installation. See Enabling .NET Framework 3.5 for more information.
- Command Prompt will appear while the .NET Framework is being enabled. Once the Enabling feature(s) status bar has reached 100%, the computer may restart. If Smart Screen is enabled, the installer may not automatically restart when Windows loads. If the installer does not restart, restart the installer manually. Users can also disable SmartScreen manually prior to installing Future Fusion, see Disabling Smart Screen for more information.
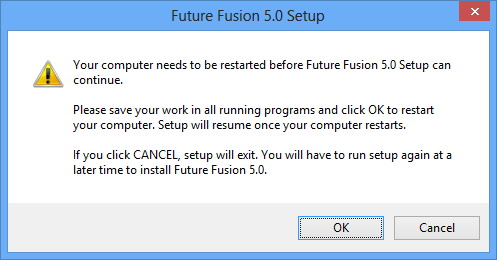
- If the computer needs to be restarted dialog appears, click the OK button to allow Windows to restart. If the installer does not automatically restart, the user will need manually start the Future Fusion installer.
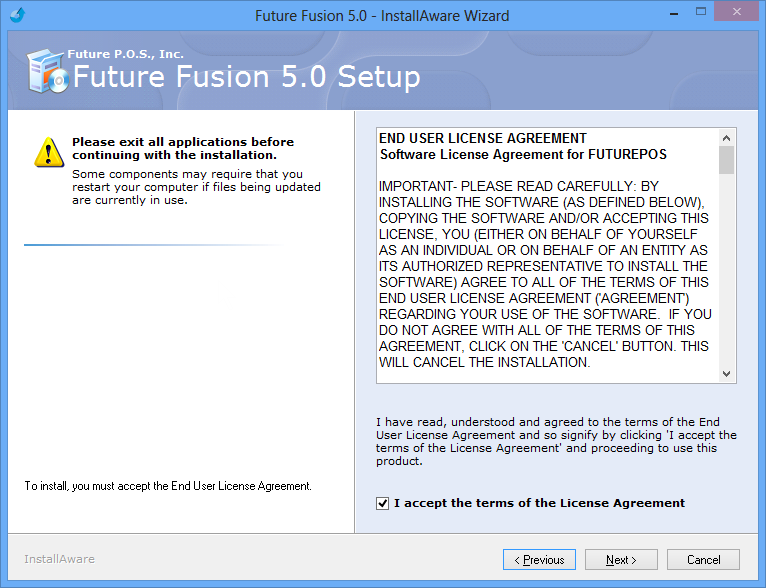
- When the License Agreement window appears, check the I accept the terms of the License Agreement check box.
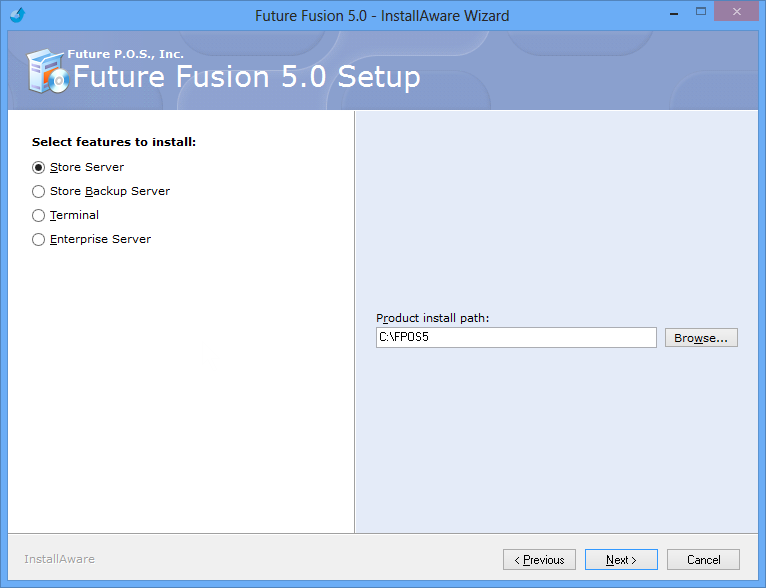
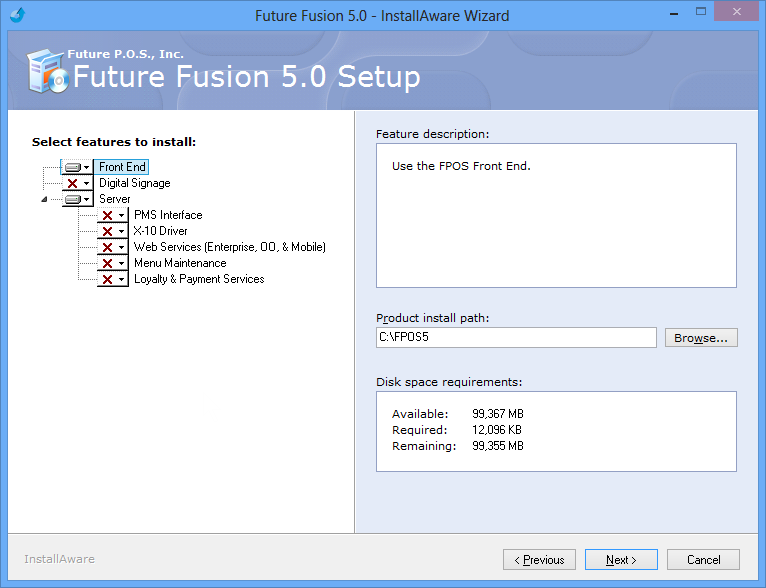
- In the Select Features to install section, select an install option and then click Next.
- The Store Server houses the database for the site. The Server is also used for credit card processing.
- The Store Backup Server houses the primary database information for the site. It is used when the Store Server is unavailable and allows the point of sale system to function until the Store Server becomes available again.
- The Terminal houses the Front End where employees will enter orders and perform other sales functions.
- The Enterprise Server houses the database for the Enterprise sites. This option requires an Enterprise license.
- Select Features to install and then click the Next button.
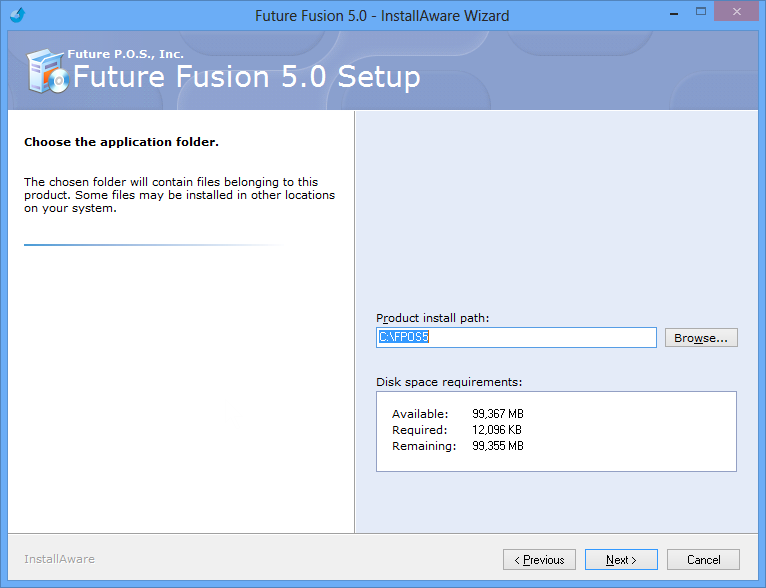
- Enter a Product install path or use the default path shown. Then click the Next button.
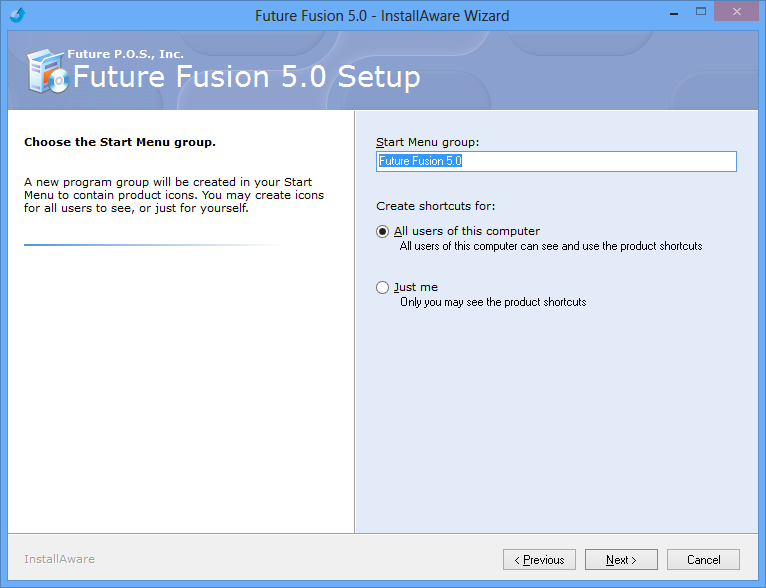
- Enter a Start Menu group name or use the default name shown below.
- Select a Create shortcuts for option.
- All users of this computer allows all computer users to see and use the software.
- Just me allows only the current user to see and use the software.
- Click the Next button.
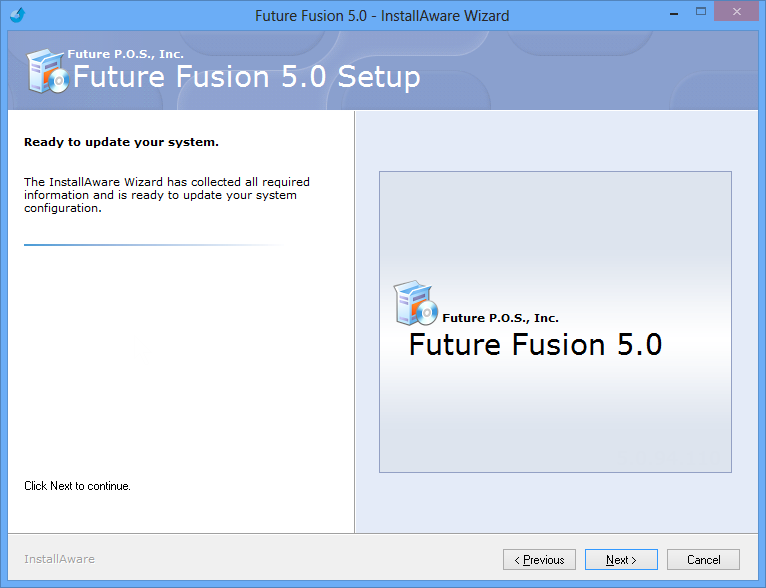
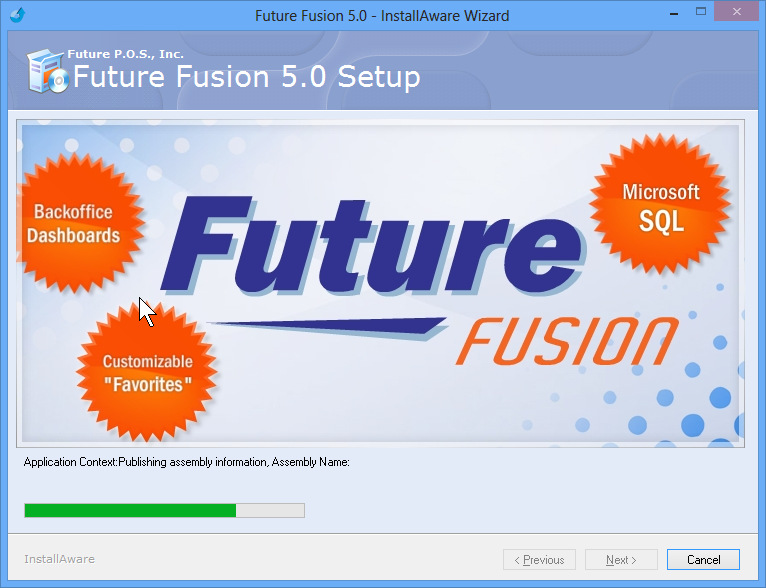
- When the Ready to update screen appears, click the Next button. Future Fusion will begin installing.
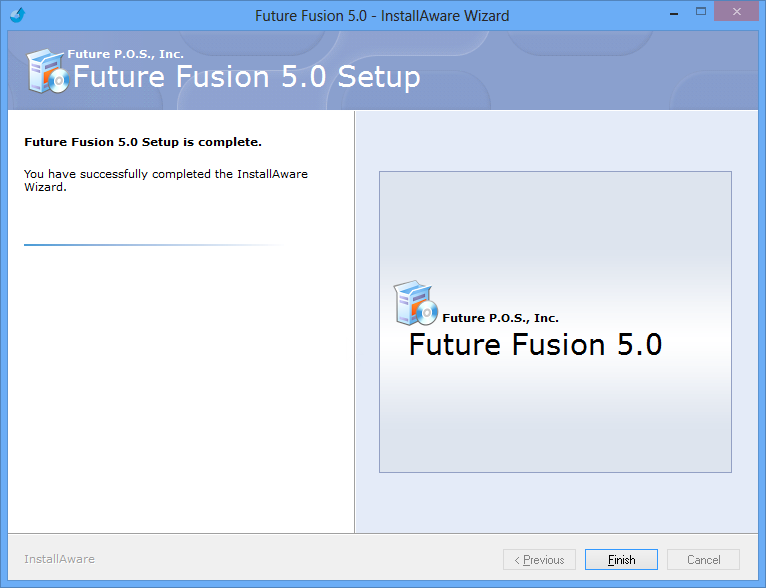
- When the installation has completed, the Setup is complete window will appear. Click the Finish button to complete the installation process.
Open topic with navigation