Enterprise Sync From Backup
The Enterprise Sync From Backup method allows the user to sync data from a backup created on the Store Server.
 How to Run an Enterprise Sync from Backup
- From the Store Server, open DBSetup.exe.
- Click the Ent Sync Backup button to create a backup file.
- When the Enterprise Sync Backup window appears, click the Yes button. Note that clicking Yes will disable updates from the Store to Enterprise.
- Enter a File name for the backup file. Then click Save.
- When the Backup is Complete dialog appears, click the OK button to dismiss the dialog.
- Copy the backup file to the Enterprise Server.
- From the Enterprise Server, open the Back Office.
- Click the Settings icon at the top of the dashboard.
- Click the Enterprise Sync option.
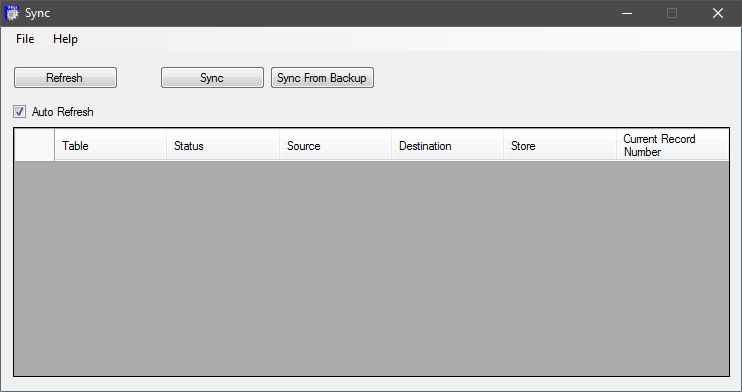
- Click the Sync From Backup button.
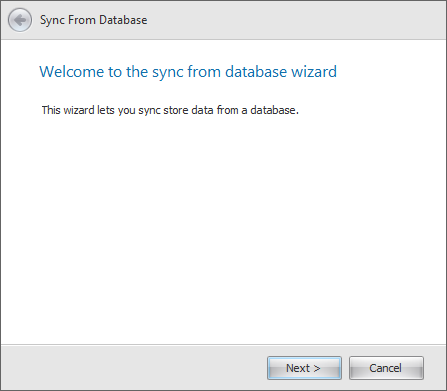
- When the Sync From Database Wizard opens, click the Next button to begin the sync process.
- Select a sync type and then click the Next button.
- By File: Allows the user to sync using a .bak file. Click the Browse button to locate a backup file.
- By Database: Allows the user to sync using a database. Click the drop down to select from a list of databases. This option requires the user to restore the backup database, created in steps one through five, in SQL Server Management Studio before beginning the sync via the Back Office.
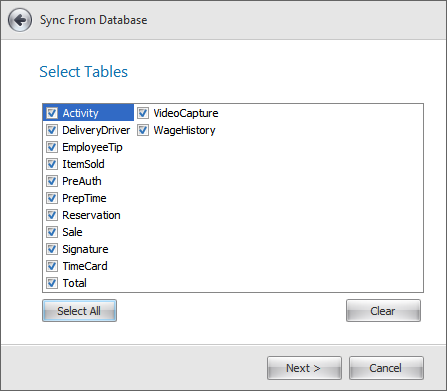
- Select tables to sync from the database, then click the Next button. Users can select individual tables or click the Select All button to select all tables.
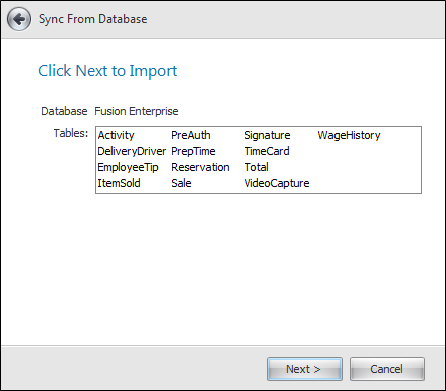
- Verify the Database and Tables to sync, then click the Next button.
- When the confirmation prompt appears, verify the store name and number, then click the Yes button.
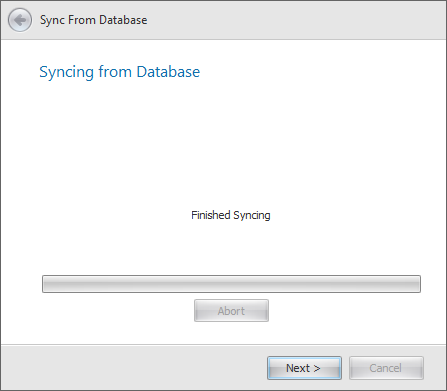
- The sync progress bar will appear. When the sync has finished, click the Next button.
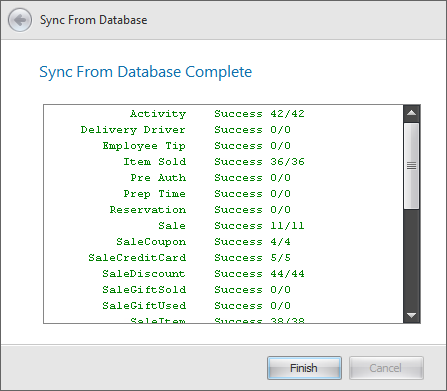
- The Sync from Database Complete window will be displayed. Click the Finish button to complete the sync process.
- From the Store Server, open DB Setup. The status will now read Status: Good!.
Open topic with navigation


![Confirmation prompt: Do you wish to sync Store [Store name] to Enterprise?](../../../resources/images/enterprise_enterprisesync_wizard5-1_thumb_0_75.png)


![Confirmation prompt: Do you wish to sync Store [Store name] to Enterprise?](../../../resources/images/enterprise_enterprisesync_wizard5-1.png)