Convert/Export Graphics
The Convert/Export Graphics utility allows users to extract images from the FPOS database and convert and/or export them to a specified destination.
 How to Convert Graphics from the Back Office
- Open the Back Office.
- Click the Settings icon.
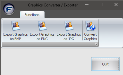
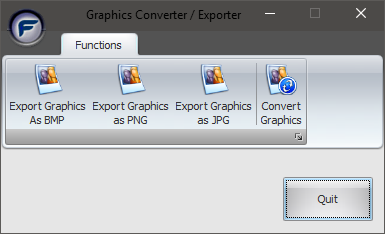
- Click the Convert/Export Graphics option. The Graphics Converter/Exporter window will open.
- Select the Convert Graphics button to convert any graphic extensions currently in the dbfile table to PNG image format. This process will also confirm that any copies of the converted graphic (existing in other tables of the FPOS database) are also converted.
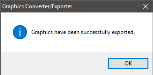
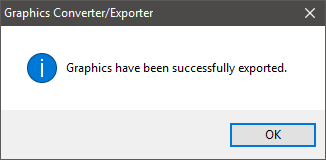
- When the images have been exported a success dialog will be displayed. Click the OK button to dismiss the dialog.
How to Export Graphics from the Back Office
- Open the Back Office.
- Click the Settings icon.
- Click the Convert/Export Graphics option. The Graphics Converter/Exporter window will open.
- Select an export option:
- Export Graphics as BMP converts the image to a BMP image file and then exports it to the specified location.
- Export Graphics as PNG converts the image to a PNG image file and then exports it to the specified location.
- Export Graphics as JPG converts the image to a JPG image file and then exports it to the specified location.
- After clicking an export option, the Browse For Folder window will open. Select a directory to export your images to, then click the OK button.
- When the images have been exported a success dialog will be displayed. Click the OK button to dismiss the dialog.
Open topic with navigation